User Guide
A practical guide to using NodeFX (GLSL-APP): from quick start to common workflows.
Quick Start (3 minutes)
Drop an image
Drag & drop an image file onto the canvas to start.
Add a filter node
Drag a filter node from the left sidebar library onto the canvas.
Connect image → filter
Connect the image node output to the filter node input.
Preview
Click the eye icon on the filter node to preview the result.
Tweak parameters
Adjust node uniforms and watch the preview update in real time.
Save from preview
Save the result directly from the preview panel.
1. Overview
What is NodeFX?
A node-based GLSL editor built for fast creation, generation, and iteration of game VFX textures. Start by dropping an image, then chain nodes to modify and preview instantly—without the steep learning curve of AE/SD/PS-style tools.
Core concepts
- Node: a generator / operator (sampling, blur, blend, mapping, etc.).
- Edge: connects an output port to an input port (data flows along edges).
- Preview: the node currently displayed in the preview panel.
- Uniform: editable node parameters (numbers, colors, enums, textures...).
2. Basic Operations
Add nodes
Drag nodes from the sidebar into the canvas.

Connect & disconnect
- Drag from an output handle to an input handle to connect.
- Disconnect: hold Alt and click the edge.

Select / move / delete
- Select: click a node.
- Multi-select: box select or modifier keys.
- Move: drag a node.
- Delete: press Delete/Backspace.
3. Image & Texture Workflow
Drag & drop images
Drop an image file onto the canvas. The app creates a SAMP_TEXTURE node and sets its image uniform to the dropped image.

Change the image from inspector
Use the sampler2D parameter widget to pick a texture.
4. Uniform Editing
Common uniform types
- Numbers:
float/int - Vectors:
vec2/vec3/vec4 - Color (often mapped to vec3/vec4 widgets)
- Enum
- Toggle / bool
- Texture:
sampler2D
How values are applied
- If an input port is not connected: the node uses its own uniform value.
- If an input port is connected: the incoming edge value typically overrides the uniform (depends on node design).
5. Custom GLSL Nodes (Advanced)
The run() convention
The node entry point is void run(...). Ports and types are derived from its parameters.
- The first parameter must be
vec2 uv(typically 0~1 texture coordinates). - Outputs must be declared with the
outkeyword. - Write a full function signature only (no function body) in documentation:
void run(vec2 uv, out vec4 outColor);
void run(vec2 uv, float strength, sampler2D image, out vec4 outColor);
void run(vec2 uv, vec3 a, vec3 b, out vec3 outColor, out float outMask);
Overloads
If your shader contains multiple run() signatures, you can switch overloads from the inspector.
You can label/sort overloads via comments:
//Item[name,order]
// order: smaller = higher priority; ties keep source order
6. Preview & Output
Preview
Choose a preview node, then inspect the result in the preview panel.
7. Import / Export / Share
Save & load projects
Export a project file and import it later to restore your graph.
Share link
Generate a share link and copy it.
Showcase
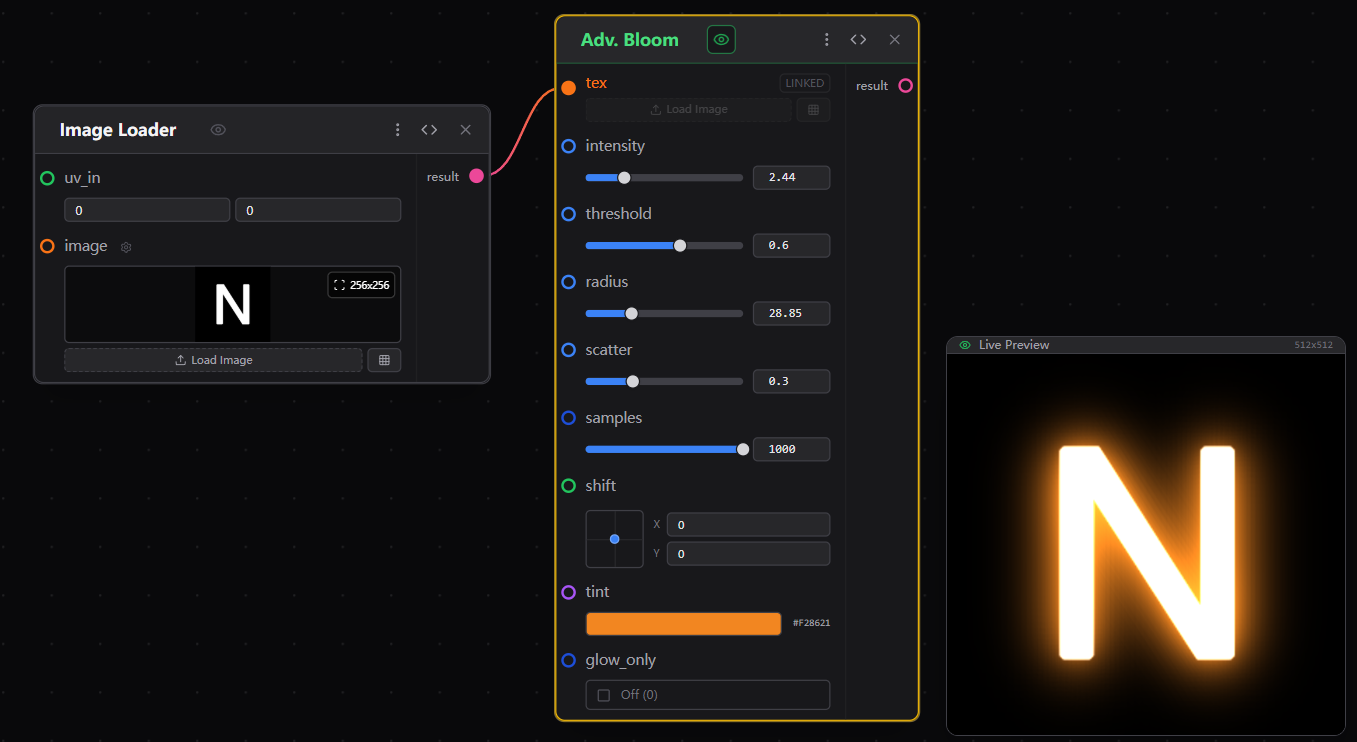
Glow Effect
Add bloom and neon vibes.
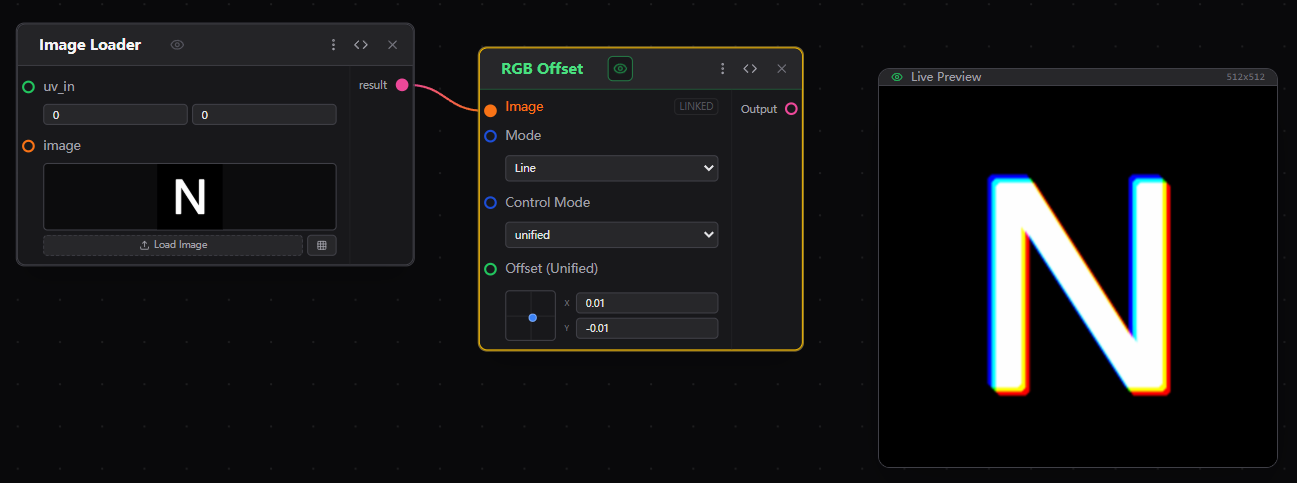
RGB Split
Chromatic aberration & glitch.
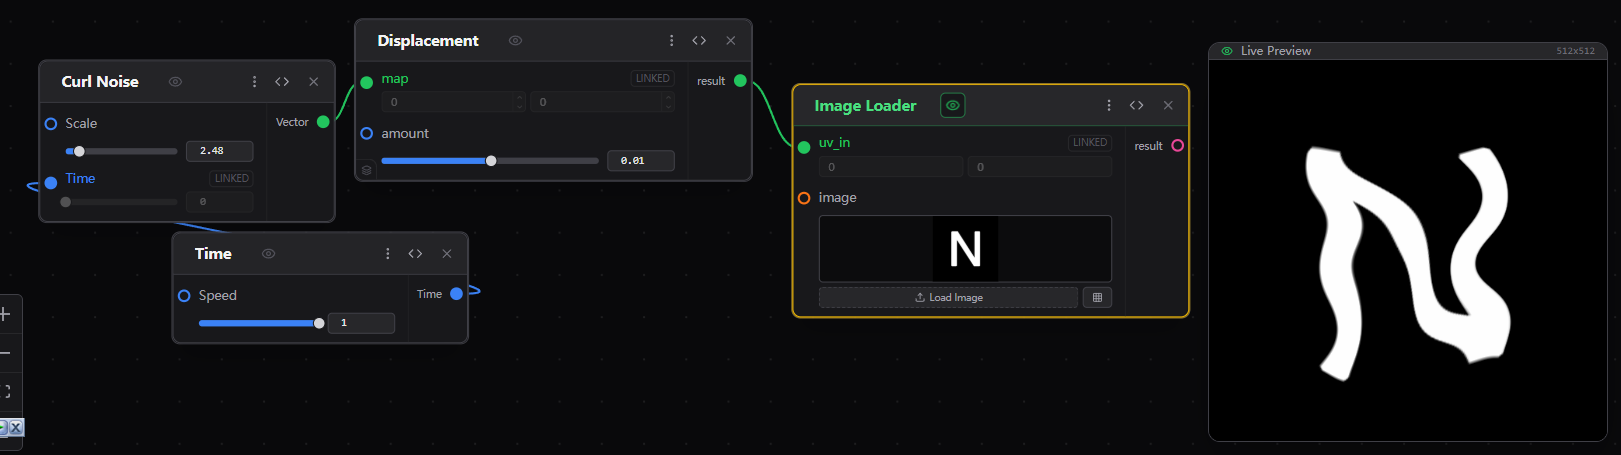
Displacement
UV distortion & warping.
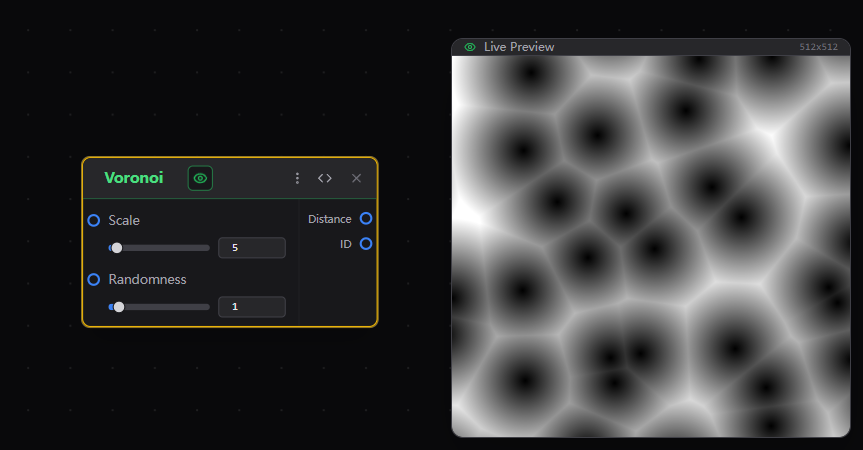
Noise Generation
Perlin, Simplex, & Fractal.
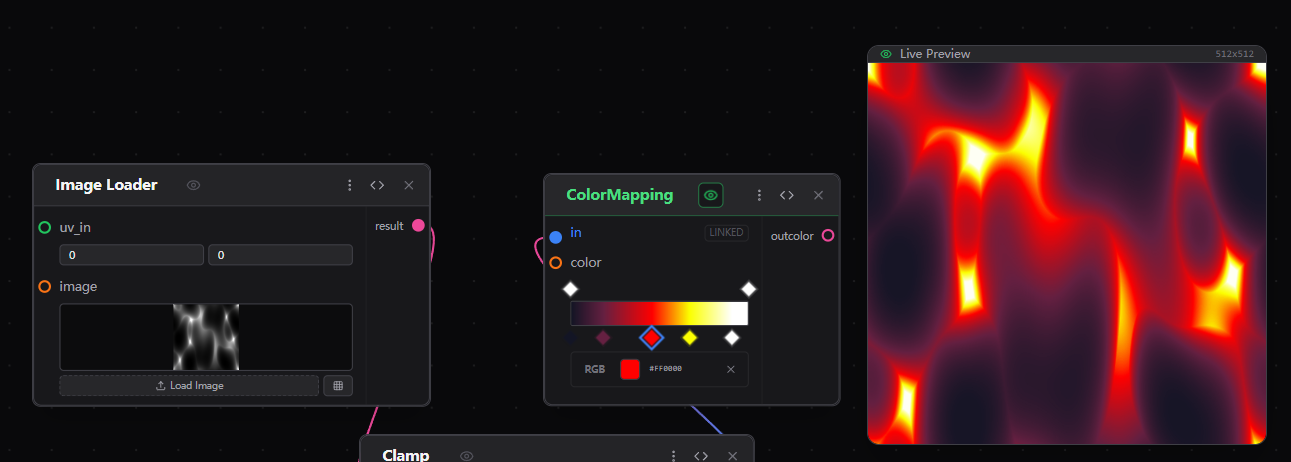
Color Mapping
Gradient maps & remapping.
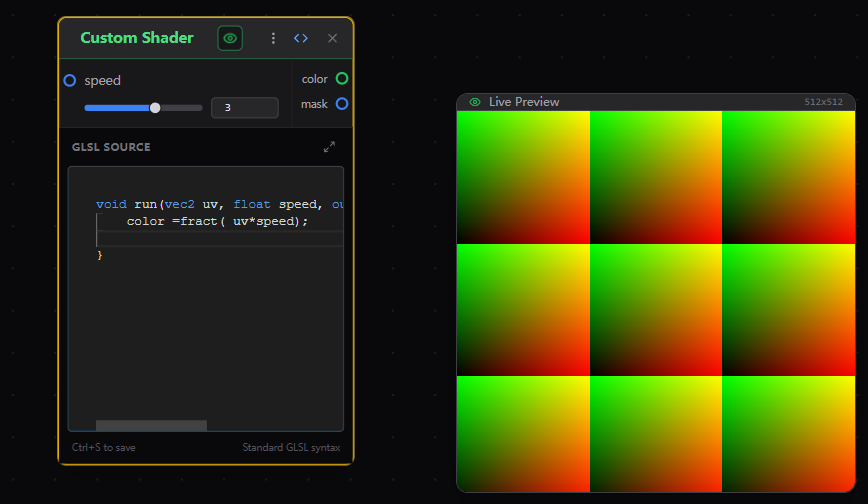
Custom Shader
Write raw GLSL code for limitless possibilities.